UkhcaBlog UkhcaBlog
  • DIY
    • Decorating
      • Room by Room
      • Furniture
    • Arts
      • Crafts
        • Decorative Crafts
  • Home Improvement
    • Remodeling
    • Bedroom
    • Kitchen
    • Home Exterior
  • Lawn & Garden
    • Landscaping
  • Pets
    • Dogs

Archives

  • March 2023
  • February 2023
  • January 2023
  • December 2022
  • October 2022
  • September 2022

Categories

  • Arts
  • Bedroom
  • Crafts
  • Decorating
  • Decorative Crafts
  • DIY
  • Dogs
  • Furniture
  • Home Exterior
  • Home Improvement
  • Kitchen
  • Landscaping
  • Lawn & Garden
  • Pets
  • Remodeling
  • Room by Room
63K
98K
0
0
  • Privacy Policy
  • Disclaimer
  • Sitemap
  • Contact US
UkhcaBlog UkhcaBlog
  • DIY
    • Decorating
      • Room by Room
      • Furniture
    • Arts
      • Crafts
        • Decorative Crafts
  • Home Improvement
    • Remodeling
    • Bedroom
    • Kitchen
    • Home Exterior
  • Lawn & Garden
    • Landscaping
  • Pets
    • Dogs
How to Make a Cute Diaper Stacker
  • Decorating
  • DIY
  • Room by Room

How to Make a Cute Diaper Stacker

  • February 19, 2023
  • Perla Irish
Total
0
Shares
0
0
0
Table of Contents Hide
  1. Make a Cute Animal Face Diaper Stacker
    1. Supplies
  2. Make Your Patterns
  3. Cut the Fabric
  4. Prepare the Top
  5. Prepare the Bottom
  6. Prepare the Stacker Bag
  7. Assemble Your Stacker
Let a dog, cat, bear, or bunny watch over your baby while hiding those ugly diapers when you know how to make a diaper stacker to use and share.

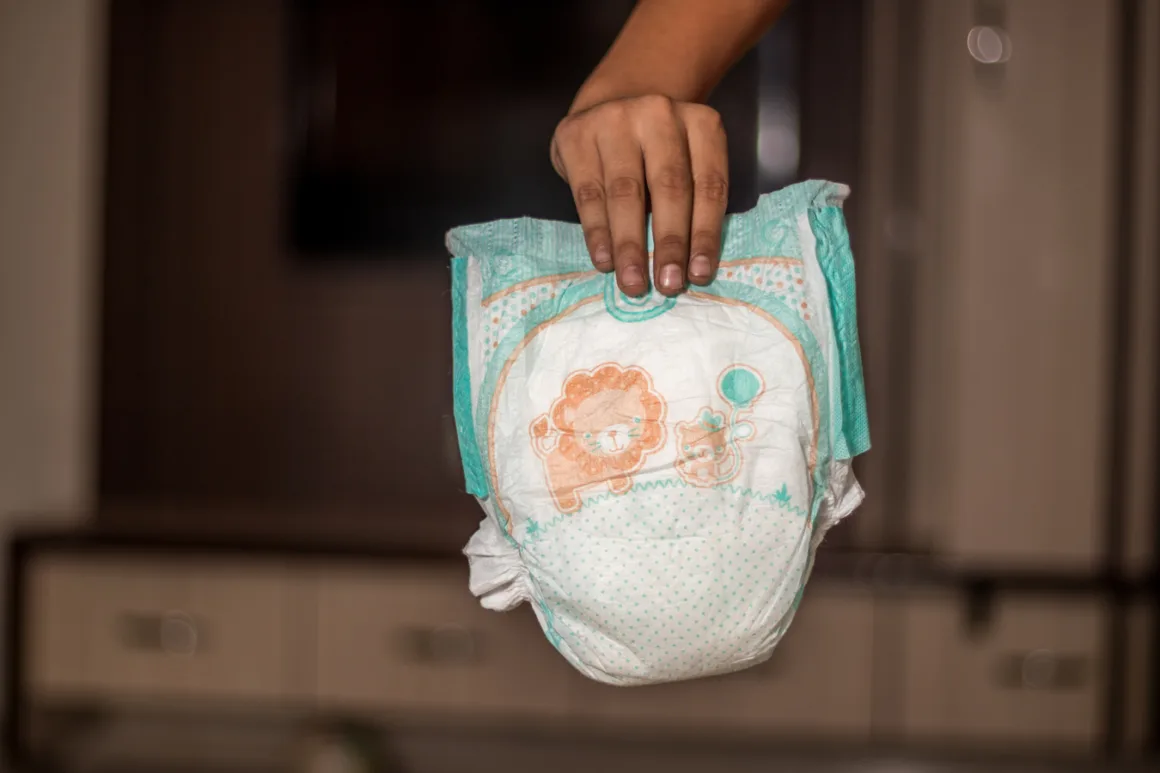
If you know how to make a diaper stacker, you can decorate your nursery and still keep supplies at “grab” distance.

Make a Cute Animal Face Diaper Stacker

Having diapers out of the box or drawer and easy to reach during changes can prevent messes and mishaps. However, whether cloth or disposable, diapers are unattractive when stacked on top of the furniture, and it is easy to knock them off. If you know how to make a diaper stacker, though, you can combine convenience and décor chic.

Hide ugly diapers with a cute stacker

Supplies

  • Tracing paper
  • Tape measure
  • 1 yd. cotton print fabric
  • 1/4 yd. cotton solid fabric or muslin
  • 1/4 yd. fusible interfacing
  • Cardboard
  • Fabric paint pens
  • Child’s clothes hanger

Make Your Patterns

  1. Measure your patterns onto tracing paper before cutting them from the fabric. Remember the carpenter’s adage: measure twice, cut once.
  2. Make a half-circle that is 9 inches tall by 13 inches wide. This will be for the top of the stacker.
  3. Make a rectangle 13 inches by 9 inches. This will be for the bottom of the stacker.
  4. Make a 23-inch by 22-inch rectangle. This will be for the front and back.

Cut the Fabric

  1. Fold the solid fabric in half and pin your pattern for the top piece to it. Cut the fabric to make two pieces of this shape.
  2. With the print fabric folded in half, cut two pieces using the front and back pattern. Turn the pattern so that you cut the 22-inch side from the width of the fabric (which is usually 45 inches).
  3. Pin the bottom pattern to the print fabric and cut two of that shape, as well.
  4. From the interfacing, cut one top piece and one bottom piece.
  5. Use the scraps of the print or the solid fabric to cut four triangles to use as ears. Dogs, cats, tigers, etc., make the triangles about 4 inches wide and 3 5/8 inches tall. If you want a bunny, make taller earpieces.

Prepare the Top

Lightly mark the 5/8-inch seam allowance on all edges of one of the pieces. With the fabric pens, draw and paint facial features for your animal.

Pin two ear pieces together, right sides together. Stitch the sides of the ear, using 1/2-inch seam allowances; trim the seams to 1/4 inch and turn the ear right side out. You do not need to close the third side. Repeat for the other ear.

Fuse the interfacing to the painted top piece. Pin the ears to the piece, with the unfinished edge aligned with the top edge of the top piece and the points toward the center.

Pin the other top piece to the first, right sides together. Find the center of the curve; mark a line 1/2 inch on each side of the center. Stitch the curved edge of the top piece, using a 5/8-inch seam allowance and leaving that 1-inch space open. Trim the seams to 1/4 inch, except for the small opening.

Clip the seam allowance so that you can fold the seam allowance at the opening to make a clean finish hem for the 1-inch space. This will be for the hanger hook to pass through.

Turn the top right side out and press the seams.


Read Also: 

  • Cheap n Easy DIY Dog Bed, How to Make a Homemade Dog Bed
  • Makeup Storage 101: The Best Ideas for Holders & Organizers
  • Add “Pop” With Pillow Shams

Prepare the Bottom

Pin the bottom fabric pieces, right sides together. Stitch around three sides, using a 5/8-inch seam allowance. Trim the seams to 1/4 inch and turn them right side out.

Cut a piece of cardboard 1/2 inch smaller on all sides. Insert it in the open side. Fold the remaining seam allowances in and hand-stitch the last seam closed.

Prepare the Stacker Bag

Fold 1/2 inch of the long side of one of the front and back pieces toward the wrong side of the fabric. Now, fold the same edge in 1 inch. Stitch along both folds to make a finished edge. Repeat on the other piece.

Pin the pieces together at the unfinished long edges, right sides together. Stitch the center back seam, using a 5/8-inch seam allowance.

Set your sewing machine to the longest stitch length available. Stitch along the top edge of the joined piece 1/2 inch from the edge. Repeat on the bottom edge.

Assemble Your Stacker

diaper stacker sketch

Pull the bobbin thread on the bottom of the stacker bag to gather the fabric evenly. Pin it to the bottom piece, right sides together. Stitch around all four sides, using a 1/2-inch seam allowance. Trim the seams and turn the bag right sides out.

Pull the bobbin thread on the top of the stacker bag to gather the fabric evenly, as well. Turn 1/4 inch on the unfinished edges of the top piece to the inside. Pin the gathered bag to the inside of the top piece and stitch them together.

Now that you know how to make a diaper stacker, you can add a cute touch to your own nursery and give a unique and personalized handmade baby gift to parents-to-be.

Total
0
Shares
Share 0
Tweet 0
Pin it 0
Share 0
Share 0
Related Topics
  • do-it-yourself
  • fabric
Perla Irish

Sign Up for Our Newsletters

Get notified of the best deals on our WordPress themes.

You May Also Like
featured image - How to Use Peel and Stick Wallpaper to Update Your Home In 2023
View Post
  • DIY
  • Home Improvement

How to Use Peel and Stick Wallpaper to Update Your Home In 2023

  • Perla Irish
  • March 16, 2023
Rockin' Outdoor Dining Areas
View Post
  • Decorating
  • DIY
  • Furniture
  • Home Exterior
  • Home Improvement

Rockin’ Outdoor Dining Areas

  • Perla Irish
  • March 15, 2023
featured image - Creating a Garden Oasis: Using Canvas Print in Your Outdoor
View Post
  • DIY
  • Home Exterior
  • Home Improvement
  • Lawn & Garden

Creating a Garden Oasis: Using Canvas Print in Your Outdoor

  • Perla Irish
  • March 14, 2023
6 Tips For Yard & Garden Tool Maintenance
View Post
  • DIY
  • Lawn & Garden

6 Tips for Yard & Garden Tool Maintenance, Fall Cleaning for the Tools of Your Trade

  • Perla Irish
  • March 14, 2023
Preparing and Maintaining a Lawn for Winter
View Post
  • DIY
  • Landscaping
  • Lawn & Garden

Preparing and Maintaining a Lawn for Winter

  • Perla Irish
  • March 12, 2023
Fall Gardening: What to Do with Plants
View Post
  • DIY
  • Landscaping
  • Lawn & Garden

Fall Gardening: What to Do with Plants

  • Perla Irish
  • March 12, 2023
Repairing a Garden in Fall: A Guide for Gardeners
View Post
  • DIY
  • Landscaping
  • Lawn & Garden

A Guide to Repairing a Garden in the Fall

  • Perla Irish
  • March 11, 2023
Tips to Decorate a Narrow or Small Hallway
View Post
  • Decorating
  • DIY
  • Room by Room

Tips to Decorate a Narrow or Small Hallway

  • Perla Irish
  • March 10, 2023

Leave a Reply Cancel reply

Your email address will not be published. Required fields are marked *

This site uses Akismet to reduce spam. Learn how your comment data is processed.

Recent Posts
  • featured image - How to Use Peel and Stick Wallpaper to Update Your Home In 2023

    How to Use Peel and Stick Wallpaper to Update Your Home In 2023

    • March 16, 2023
    View Post
  • Rockin' Outdoor Dining Areas

    Rockin’ Outdoor Dining Areas

    • March 15, 2023
    View Post
  • featured image - Creating a Garden Oasis: Using Canvas Print in Your Outdoor

    Creating a Garden Oasis: Using Canvas Print in Your Outdoor

    • March 14, 2023
    View Post
  • 6 Tips For Yard & Garden Tool Maintenance

    6 Tips for Yard & Garden Tool Maintenance, Fall Cleaning for the Tools of Your Trade

    • March 14, 2023
    View Post
  • Preparing and Maintaining a Lawn for Winter

    Preparing and Maintaining a Lawn for Winter

    • March 12, 2023
    View Post
Featured Posts
  • featured image - How to Use Peel and Stick Wallpaper to Update Your Home In 2023 1
    How to Use Peel and Stick Wallpaper to Update Your Home In 2023
    • March 16, 2023
  • Rockin' Outdoor Dining Areas 2
    Rockin’ Outdoor Dining Areas
    • March 15, 2023
  • featured image - Creating a Garden Oasis: Using Canvas Print in Your Outdoor 3
    Creating a Garden Oasis: Using Canvas Print in Your Outdoor
    • March 14, 2023
  • 6 Tips For Yard & Garden Tool Maintenance 4
    6 Tips for Yard & Garden Tool Maintenance, Fall Cleaning for the Tools of Your Trade
    • March 14, 2023
  • Preparing and Maintaining a Lawn for Winter 5
    Preparing and Maintaining a Lawn for Winter
    • March 12, 2023
Categories
  • Arts (1)
  • Bedroom (2)
  • Crafts (1)
  • Decorating (14)
  • Decorative Crafts (1)
  • DIY (28)
  • Dogs (1)
  • Furniture (4)
  • Home Exterior (3)
  • Home Improvement (14)
  • Kitchen (2)
  • Landscaping (4)
  • Lawn & Garden (6)
  • Pets (1)
  • Remodeling (3)
  • Room by Room (6)

Sign Up for Our Newsletters

Get notified of the best deals on our WordPress themes.

UkhcaBlog UkhcaBlog
  • Privacy Policy
  • Disclaimer
  • Sitemap
  • Contact US

Input your search keywords and press Enter.