Table of Contents Show
Handmade Baby Nursery Ideas: Learn How to Create Unique Crafted Nursery Items
Learn how to incorporate decorative craft ideas into your child’s nursery to make it a unique space for you and your little one to enjoy. Discover how easy it is to make a personalized toy box for your nursery with photographs to guide you as you let your creative spirit run free!
A Unique Nursery
Finding out a baby is on the way is one of life’s greatest joys, and there is no better way to prepare for a new addition and help pass the long nine months of pregnancy than to design and create the perfect nursery.
A short walk around any baby store is confirmation enough of just how important nursery decor is to new parents, with aisles and aisles of bright blue airplane bedding, pink ladybugs, and monkeys plastered over blankets, bumpers, sheets, mobiles, and more.
While these manufactured items will create quite adorable nurseries, many parents are looking for a way to make their child’s special room more unique and personal. With a few basic materials and a little creativity, any nursery can become a one-of-a-kind space with treasured items sure to last long after the infant years.
Many parents feel that they are not creative enough to design their own nursery items, and look for outside help to achieve that unique look. In fact, the reason handmade features in space have such an impact is that they are the result of the combination of one’s time, love, and personal vision.
Imperfections only add to the whimsical element that is so endearing in any child’s room.
Getting Started
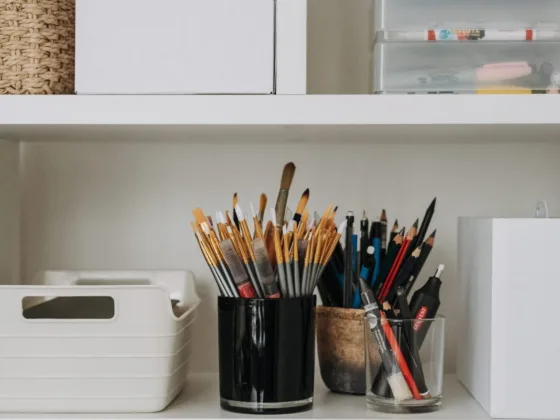
The first step to creating handmade baby nursery items is to decide the type of materials you are comfortable working with. Take a walk around any large craft store and see what attracts you; whether it be the unfinished wood pieces and furniture, the brightly colored wool, the sewing patterns, or the paints.
Next, browse photographs of completed nurseries and take a look at the individual elements in the room. Ask yourself, which of these items could I personalize? Which items in the nursery are the most prominent?
If you are confident in crafting, perhaps choose two or three items to create or personalize that follow the same theme. If you are less experienced, choose one item that you could create and place alongside other store-bought components.
Step by Step Instructions for Making a Personalized Toy Box With the Art of Decoupage
Craft Example: Decoupage Toy Box

What follows is an example of a personalized nursery project. You can find many, many more by browsing craft books or online sites. Try typing ‘nursery craft projects’ into your favorite search engine, and see what comes up.
Some projects are simple, some more complex, but all are just starting points from which your own ideas can blossom. The process of creating these gifts for your child will be so much more valuable than the final results.
Take pictures as you work and add them to a pregnancy scrapbook; another unique creation that you will enjoy looking at with your child in the years to come.
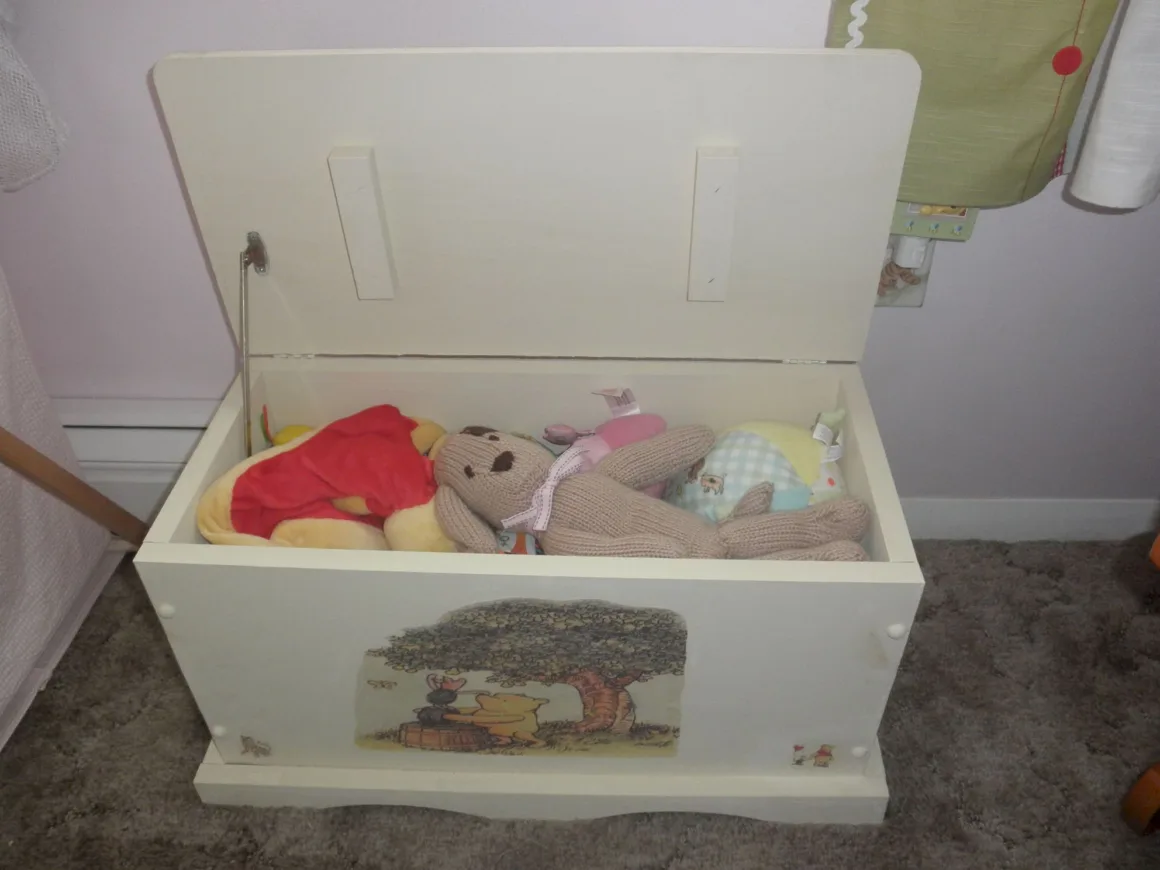
Making Your Own Toy Box
Most chain craft stores now sell unfinished wooden toy boxes in different shapes and sizes.

Take the box, sand it completely and paint it either in neutral colors or some of the colors of your nursery with craft paint. Allow the box to dry completely.
Meanwhile, go online or find pictures in books that relate to your nursery theme, favorite childhood character, or babies in general. These pictures will be placed on the toy box to really make it stand out.
For example, if the nursery theme is Classic Pooh, find some simple pictures of Pooh and his friends in color and print them out. Find a mixture of small and larger pictures to decorate the toy box. Cut around the pictures tightly so there is no unnecessary background.

When the box is dry, take some decoupage medium, available at any craft store, and brush it onto the back of the printed picture with a craft brush. Place the picture anywhere you would like on the box, smooth it out, then brush a little more decoupage glue over the entire picture.
Allow the area to dry according to the directions on the glue, then brush again. Multiple layers of glue will create a really effective antiqued look.
Paint unfinished wooden letters (available in many styles at the craft store) ‘t,’ ‘o,’ ‘y,’ and ‘s’ in coordinating colors. Once dry, glue onto the toy box lid with wood glue.

When all of your pictures and letters are securely on the box, spray the entire area with a varnishing, protective spray in a matte or sheen finish.