Table of Contents Show
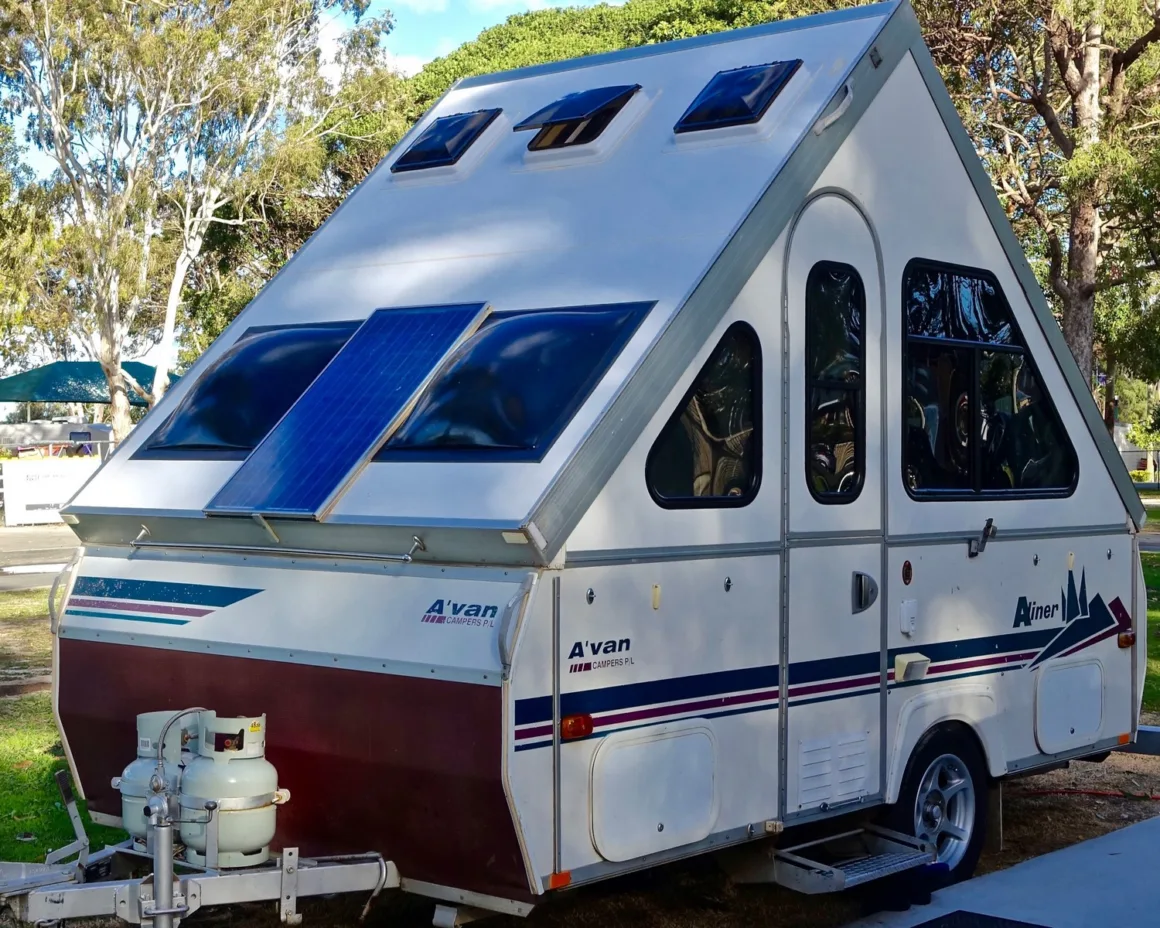
Winter is coming, and with it comes the need to protect your beloved pop-up camper from the harsh elements. Winterizing your pop-up camper is crucial to ensure its longevity and prevent any costly repairs down the line. In this guide, we’ll walk you through the process of winterizing your pop-up camper, how often you should do it, the cost involved, and how long it typically takes.
Why Winterize Your Pop-Up Camper?
Winterizing your pop-up camper is essential because freezing temperatures can cause significant damage to its plumbing system, water lines, and other components. By taking the necessary steps to winterize, you’ll be safeguarding your investment and ensuring that it’s ready to hit the road again when spring arrives.
How to Winterize Your Pop-Up Camper
By taking a few simple steps, you can ensure that your camper stays in top shape and is ready for your next adventure when spring rolls around. Follow these step-by-step instructions to properly winterize your pop-up camper:
Step 1: Clean and Dry
Before you begin the winterization process, make sure your pop-up camper is clean and dry. Remove any dirt, debris, or food particles that may attract unwanted critters during the winter months. Give it a good scrub and allow it to air dry completely. A clean and dry camper is less likely to develop mold or mildew.
Step 2: Drain the Water System
One of the most important steps in winterizing your pop-up camper is to drain the water system. Start by disconnecting the water supply and opening all faucets, including the shower and toilet. Drain the water heater and remove any water filters. Don’t forget to empty the gray and black water tanks as well. Leave all drains open to ensure complete water removal.
How to Drain and Properly Winterize Your Pop-Up Camper’s Water System- YouTube Video
Step 3: Protect the Plumbing
To prevent freezing and potential damage to your plumbing system, it’s essential to protect it with antifreeze. Begin by bypassing the water heater and connecting a hand pump to the freshwater intake. Pump antifreeze through the system until it flows out of all faucets, including the shower and toilet. Remember to flush the toilet and run water through the outside shower as well. This will ensure that all plumbing lines are protected.
Step 4: Seal the Exterior
Next, it’s time to seal the exterior of your pop-up camper to keep the winter elements at bay. Inspect all seams, windows, and doors for any signs of wear or damage. Use a high-quality sealant to seal any cracks or gaps you find. This will help prevent water, snow, and cold air from seeping into your camper during the winter months.
Step 5: Cover It Up
Now that your pop-up camper is clean, dry, and protected, it’s time to cover it up. Invest in a good quality cover that fits your camper snugly. A cover will shield your camper from harsh weather conditions, UV rays, and dust. Make sure to secure the cover properly, so it doesn’t get blown away by strong winds.
Step 6: Tire Care
Don’t forget about your camper’s tires! Before you bid adieu to your pop-up camper, give the tires some love. Inflate them to the recommended pressure and check for any signs of wear or damage. If possible, elevate the tires using tire covers or blocks to prevent flat spots from forming during the winter months.
Step 7: Battery Maintenance
If your pop-up camper has a battery, it’s essential to take proper care of it during the winter. Remove the battery and store it in a cool, dry place. Before storing, ensure it’s fully charged. You can use a battery tender or trickle charger to maintain the battery’s charge level throughout the winter. Regularly check the battery’s voltage and recharge if necessary.
Step 8: Ventilation
Lastly, don’t forget to provide adequate ventilation for your stored pop-up camper. This will help prevent the buildup of moisture and reduce the risk of mold or mildew. Crack open a few windows or vents to allow for airflow. If possible, use moisture-absorbing products such as desiccant packets or dehumidifiers to keep the interior dry.
By following these step-by-step instructions, you can properly winterize your pop-up camper and ensure it stays in excellent condition during the colder months. Remember, a little effort now will go a long way in preserving the longevity and performance of your camper.
How Often Should You Winterize Your Pop-Up Camper?
The question on every pop-up camper owner’s mind is: how often should you winterize your pop-up camper?
Factors to Consider
The frequency of winterizing your pop-up camper depends on various factors, including the climate you live in, how often you use your camper, and the storage conditions during the off-season. Let’s break it down:
Climate
If you live in an area with mild winters or where freezing temperatures are rare, you may not need to winterize your pop-up camper as frequently. However, if you’re in a region with harsh winters and sub-zero temperatures, it’s essential to winterize your camper every year.
Frequency of Use
How often you use your pop-up camper also plays a role in determining how frequently you should winterize it. If you’re a weekend warrior who enjoys camping year-round, you’ll need to winterize your camper every season. On the other hand, if you only use your camper during the summer months, you can get away with winterizing it once a year.
Storage Conditions
Where you store your pop-up camper during the off-season is another crucial factor. If you have access to a climate-controlled storage facility, your camper will be better protected from extreme temperatures and moisture. In this case, you may still need to winterize it, but perhaps not as frequently. However, if you store your camper outdoors or in a non-climate-controlled environment, you should winterize it every year without fail.
General Guidelines
While the frequency of winterizing your pop-up camper may vary based on the factors mentioned above, here are some general guidelines to help you plan:
Annual Winterization
Regardless of your specific circumstances, it’s always a good idea to winterize your pop-up camper at least once a year. This ensures that you’re taking the necessary steps to protect your investment and prevent any potential issues from arising during the colder months.
Preventative Measures
In addition to the annual winterization, there are a few preventative measures you can take throughout the camping season to minimize the need for frequent winterization. These include:
- Regularly inspecting your camper for any signs of leaks or damage
- Keeping your camper clean and free from debris
- Using insulation to protect exposed pipes and tanks
- Using RV antifreeze in the water system
The frequency of winterization depends on various factors, such as climate, frequency of use, and storage conditions. By following general guidelines and taking preventative measures, you can keep your pop-up camper in top shape and enjoy many more camping trips to come!
The Cost of Winterizing a Pop-Up Camper
Now, let’s get to the nitty-gritty: how much will it cost to winterize your pop-up camper? While the cost can vary depending on your location, camper size, and personal preferences, here are the main expenses to consider:
1. Antifreeze: $10-20
One of the key components of winterizing is adding antifreeze to your camper’s water system. A gallon of RV antifreeze typically costs between $10 and $20, depending on the brand and where you purchase it. You’ll need enough antifreeze to fill your water lines, faucets, toilet, and any other water-related fixtures in your camper.
2. Insulation: $20-50
Insulating your pop-up camper is crucial to keep the cold air out and the warmth in. You can purchase foam insulation boards or reflective insulation to cover the windows, door, and any other areas where heat might escape. The cost of insulation materials can range from $20 to $50, depending on the size of your camper and the type of insulation you choose.
3. Weatherstripping: $10-30
Properly sealing your camper’s doors and windows is essential to prevent drafts and keep the cold air at bay. Weatherstripping, which can be found at your local hardware store, is an affordable solution to ensure a tight seal. The cost of weatherstripping materials usually ranges from $10 to $30, depending on the size of your camper and the amount needed.
4. Storage: Varies
If you don’t have enough space to store your pop-up camper at home, you may need to consider renting a storage space. The cost of storage can vary depending on your location, the size of your camper, and the duration of storage. On average, you can expect to pay anywhere from $50 to $150 per month for a storage unit or outdoor parking space.
While the cost of winterizing can vary depending on your specific needs and preferences, the expenses typically include antifreeze, insulation materials, weatherstripping, and potentially storage fees. By budgeting for these costs and taking the necessary precautions, you can ensure that your pop-up camper stays in excellent condition throughout the winter season.
Also Read:
How Long Does It Take to Winterize a Pop-Up Camper?
The time it takes to winterize a pop-up camper will depend on your experience level, the size of your camper, and the complexity of its plumbing system. Generally, it can take anywhere from 1 to 3 hours to complete the winterization process. However, it’s always a good idea to set aside a bit more time to ensure that you’re thorough and don’t miss any crucial steps.
Conclusion
Winterizing your pop-up camper is a vital step in protecting your investment and ensuring its longevity. By following the steps outlined in this guide, you’ll be well-prepared to face the winter months and have peace of mind knowing that your pop-up camper is safe from any potential damage. Remember, proper winterization is key to a hassle-free camping experience when spring rolls around again!