• DIY
    • Arts
      • Crafts
        • Decorative Crafts
  • Home Improvement
    • Decorating
      • Room by Room
      • Furniture
    • Remodeling
    • Kitchen
    • Bedroom
    • Bathroom
    • Home Exterior
    • Home Security
    • Construction
    • Real Estate
  • Lawn & Garden
    • Gardening
    • Landscaping
  • Pets
    • Pet Care
    • Dogs
  • Lifestyle
    • Homesteading
    • Outdoor Living
    • Financial Planning
    • Personal Finance
    • Sustainability
UkhcaBlog
  • DIY
    • Arts
      • Crafts
        • Decorative Crafts
  • Home Improvement
    • Decorating
      • Room by Room
      • Furniture
    • Remodeling
    • Kitchen
    • Bedroom
    • Bathroom
    • Home Exterior
    • Home Security
    • Construction
    • Real Estate
  • Lawn & Garden
    • Gardening
    • Landscaping
  • Pets
    • Pet Care
    • Dogs
  • Lifestyle
    • Homesteading
    • Outdoor Living
    • Financial Planning
    • Personal Finance
    • Sustainability
Directions to Make Your Own Pillow Shams
  • Decorating
  • DIY
  • Furniture

Add “Pop” With Pillow Shams

  • Perla Irish
  • February 3, 2023
Total
2
Shares
2
0
0
0
Table of Contents Show
  1. Simple Directions for Pillow Shams
  2. Quick and Easy Ruffles
  3. Flanged Shams
  4. Tailored and Piped Shams
You can create a wardrobe for your pillows to rival any home furnishings expert with these directions to make your own pillow shams. Make simple and quick ruffled shams, tailored shams with piping, or flanged shams in under an hour.

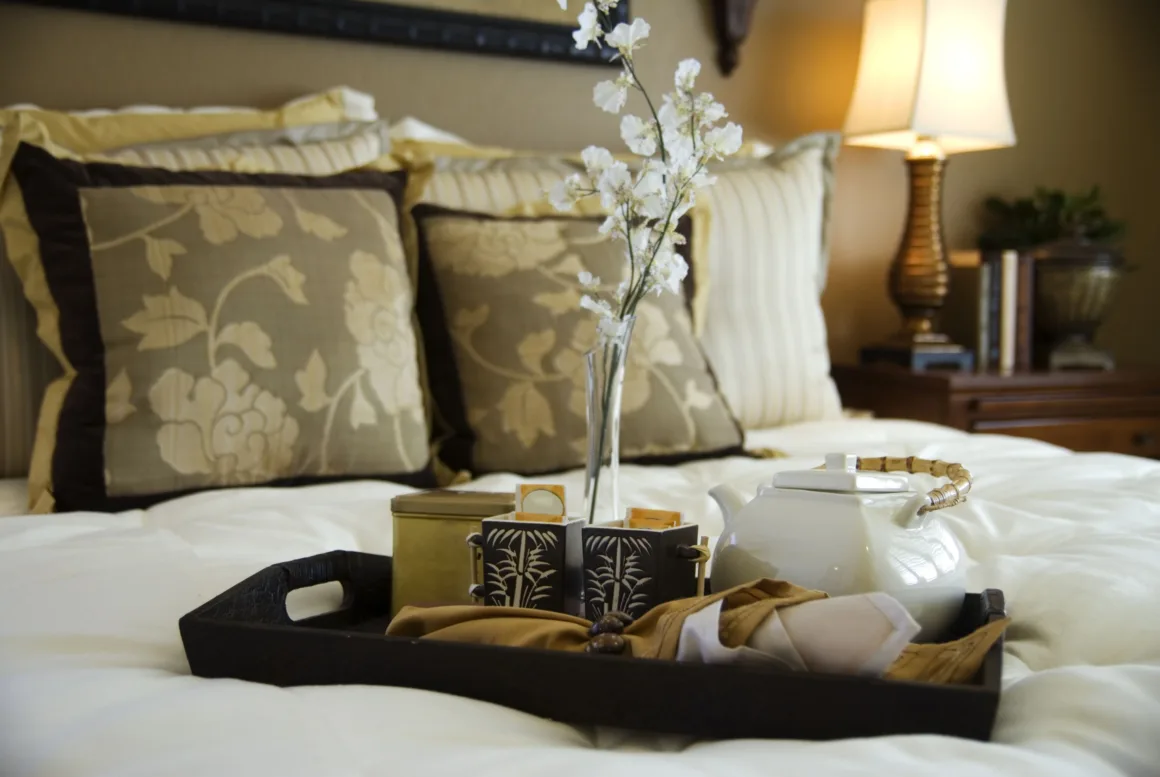
Using these directions to make your own pillow shams, means you can redecorate your bed in an hour or less.

Simple Directions for Pillow Shams

Pillow shams add a splash of cheer.

Redecorating can be messy, time-consuming, and expensive if you make extensive changes. If you have directions to make your own pillow shams, however, you can add quick and inexpensive changes to brighten and refresh your bedroom decorating.

Quick and Easy Ruffles

A pillow sham is essentially disguising a false decorative pillow, and the quickest and simplest shams involve starting with pillowcases that match your bed linens and embellishing them. Other than regular sewing notions, you will only need pre-gathered ruffles or lace, ribbon, and some snaps or hook-and-loop closure tabs.

First, pin the ruffles to all four sides of the pillowcase, leaving the case open. Stitch close to the edging on the ruffle, catching only one layer at the opening.

Next, pin the ribbon over the ruffle edging to cover the unattractive part. Stitch along the top and bottom edges of the ribbon, again leaving the opening.

Finally, add three or four snaps or hook-and-loop closure tabs into the case opening to close your new sham.

Flanged Shams

A flanged pillow sham is one of the easiest ways to transform a pillow, as it requires only the simplest of straight sewing techniques, yet adds decorative interest. A completed flanged pillow sham essentially looks like a frame around the pillow.

For this project, you will need fabric and the usual sewing notions.

Begin by measuring the length and width of your pillow. Record the measurements.

Add 4 1/4 inches to all the sides and cut three pieces of fabric. Set one piece aside; this will be the front of the sham.

Cut one-fourth of the length from each of the remaining pieces. These will be the back pieces.

On one end of one of the back pieces, fold 1/4 inch toward the wrong side of the fabric. Fold it again, 1/4 inch, and stitch the hem. Repeat for the other back piece.

Place the front piece on your work surface, right side up. Layer the back pieces on top of the front, and right sides down, with the unhemmed edges aligned with the edges of the front piece. Pin the three pieces together, the right sides of the front touching the right sides of the back.

Shams are a simple project with a lot of pizazz!
Shams is a simple project with a lot of pizazz!

Stitch around the four edges, using a 1/8-inch seam allowance and removing the pins as you sew. Turn the sham right side out and iron the seams flat.

Measure 3 3/4 inches from the outer edge on all sides and draw a line with the tailor’s chalk. Stitch along the lines to make the flanges on the sham.

Insert the pillow from the back and smooth the overlapping back pieces.


Read Also:

  • Makeup Storage 101: The Best Ideas for Holders & Organizers
  • Easy DIY Wine Racks for Your Wine Cellar
  • DIY Bedroom Makeover

Tailored and Piped Shams

Although tailored and piped pillow shams sound more difficult than the previous methods, all they need is some additional materials that are cheap to buy, and a few more minutes of your time. The effect is very formal, but also adds a wonderful professional finish to any pillow project.

This time, in addition to the fabric, you will need prepared piping trim, measured to match the perimeter of your pillow.

Measure the length and width of your pillow; add 5/8 inches to all sides. Cut three pieces of fabric to match your measurements.

Fold two of the pieces into fourths and cut away one section from each, so that you have two pieces measuring the same width as the third, but three-quarters of the length. These will be the back pieces.

Make a clean-finish hem (1/4 inch folded under twice) on one end of each of the back pieces. Set them aside.

Pin the piping to the front piece of the sham, with the raw edging at the edges of the piece and the finished piping nearest the center of the piece.

Pin the first back piece to the front piece with their right sides together and the piping between them, aligning three unfinished edges of the back piece with the edges of the front. Repeat with the other back piece, aligning the piece to the other edge of the front piece and overlapping the first back piece.

Stitch the sham layers together, using a 1/4-inch seam allowance. Trim the corners as needed and turn the sham right side out. Press the seams flat.

Pillow shams are one of the easiest ways to decorate your bedroom. With these directions to make your own pillow shams and the perfect coordinating fabrics, you can change the look of your bed anytime with ease and very little expense.

Total
2
Shares
Pin it 2
Share 0
Share 0
Tweet 0
Share 0
Perla Irish

Perla Irish, who is more familiarly known as Irish, is the Content Manager at ukhcablog.com. She loves following trends around home and garden, interior design and digital marketing. Through this blog, Irish wants to share information and help readers solve the problems they are experiencing.

Related Topics
  • decor
  • directions
  • pillow
Previous Article
Easy DIY Dog Bed, How to Build a Dog Bed Out of Wood
  • Dogs
  • Pets

Cheap n Easy DIY Dog Bed, How to Make a Homemade Dog Bed

  • Perla Irish
  • December 27, 2022
View Post
Next Article
About Gardening in a Wheelchair
  • DIY
  • Landscaping
  • Lawn & Garden

About Gardening in a Wheelchair

  • Perla Irish
  • February 16, 2023
View Post

Sign Up for Our Newsletters

Get notified of the best deals on our WordPress themes.

You May Also Like
Bright backyard pool with clear blue water, surrounded by green plants and neatly arranged pool maintenance tools including chlorine tablets, pH strips, and a skimmer.
View Post
  • DIY
  • Home Improvement

Pool Maintenance Essentials: A Guide to Clean and Healthy Swimming Water

  • Perla Irish
  • May 20, 2025
Bright, minimalist living room with natural light, green plants, energy-efficient lighting, and organized, clutter-free space symbolizing eco-friendly living.
View Post
  • Decorating
  • DIY
  • Home Improvement
  • Home Maintenance
  • Room by Room

5 Things That Can Affect Your Property Value

  • Perla Irish
  • May 20, 2025
A roofer is repairing a slate roof on a house.
View Post
  • DIY
  • Home Exterior
  • Home Improvement

How Much Does a New Roof Really Cost in the UK?

  • Perla Irish
  • May 17, 2025
Close-up of a curved wall meeting the floor with smooth, neatly installed wooden quarter round trim in a bright, modern home interior.
View Post
  • DIY
  • Home Improvement
  • Remodeling

Mastering Quarter Round: How to Measure and Cut Curved Walls

  • Perla Irish
  • May 12, 2025
Smooth asphalt suburban driveway with gentle slopes, neat landscaping, mature trees.
View Post
  • DIY
  • Home Improvement

7 Driveway Construction Mistakes You Shouldn’t Make

  • Perla Irish
  • April 24, 2025
A sleek wall mount faucet drips water in a modern kitchen, highlighting a clean and spacious countertop with a minimalist backdrop.
View Post
  • Bathroom
  • DIY
  • Home Improvement

Wall Mount Faucets: Style, Space Savings, Costs, and What You Need to Know

  • Perla Irish
  • April 21, 2025
vacation security checks
View Post
  • DIY
  • Home Improvement
  • Home Security

Security Solutions for Homeowners in Stuttgart: Adler Schlüssel’s Complete Protection

  • Perla Irish
  • April 10, 2025
Upgrade your security with advanced safe locks
View Post
  • DIY
  • Home Improvement
  • Home Security

Safes and Secure Storage in Stuttgart: Bühler Schlüssel’s Premium Protection

  • Perla Irish
  • April 10, 2025

Leave a Reply Cancel reply

Your email address will not be published. Required fields are marked *

This site uses Akismet to reduce spam. Learn how your comment data is processed.

Sign Up for Our Newsletters

Get notified of the best deals on our WordPress themes.

  • Privacy Policy
  • Disclaimer
  • Sitemap
  • Contact
  • About

Input your search keywords and press Enter.