Table of Contents Show
Whether you’re an avid gardener or a brand new homeowner with no gardening experience at all, the fact is, at some point in your life you’re going to have to do some pruning in your yard.
Pruning is a fact of life, and because shrubs are among the most common landscape plants in our yards, you can pretty much bet that you’re going to be pruning a shrub or two in your time.

Contrary to some urban myths being propagated out there, pruning is actually quite simple and straightforward, and is certainly nothing to fear.
Like most aspects of our yards and gardens, the secret to successful pruning lies in knowledge, both of the appropriate techniques to achieve the intended outcome and of the plants that are about to be pruned.
So before you pick up your pruning shears and head out into the yard for a little chop-chop, be sure to read through this Info Sheet and know what you’re doing. Even if you’re a seasoned veteran of the manicured shrub border, it might not hurt to refresh your knowledge and be sure you’re on the right track!
Pruning Basics
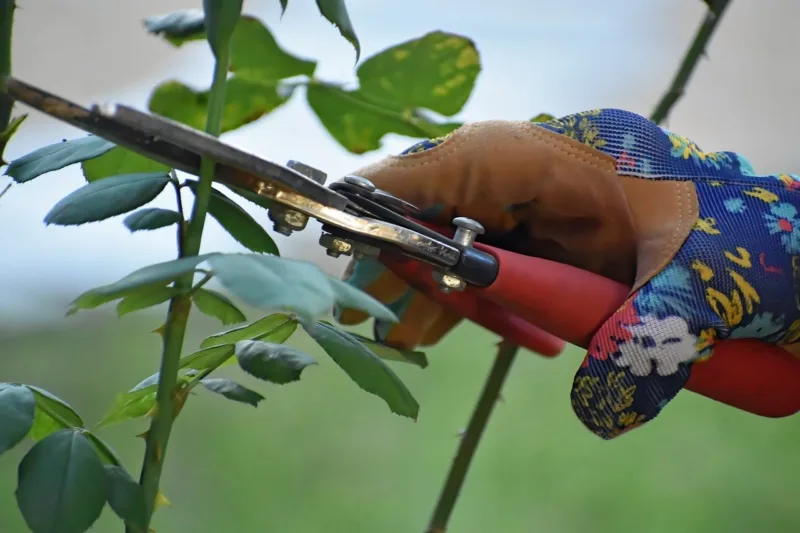
First and foremost, be sure to have the right tools on hand. Sharp pruning shears are a must for every gardener and homeowner – the higher the quality, the easier it will be and the longer they will last. You can also have secateurs, lopping shears, pruning saws, and other such tools, but the basic shears are essential.
If you have a hedge, a set of power shears will make life much easier, but is not essential. Make sure to keep your shears sharp, and prep them for winter storage each fall with a light application of oil.
Before you start cutting away, be sure you are able to visualize just what you want the plant to look like after the carnage is over. If not, always step back and have a look before cutting – it’s always easier to see things more clearly from a distance.
But don’t fret if you make the “wrong” cut. Most shrubs are very forgiving and will fill in an errant trimming in no time. Heaven only knows I’ve chopped off a wrong branch here and there, and it’s never cost me a plant yet!
When pruning, you should always trim a branch back to just above one or more healthy leaf buds, no more than about half an inch above. Don’t leave stubs; these will invariably die and can become havens for insect pests and disease.
Also note that some evergreens like pines and spruce only have terminal buds, and should be treated a little differently. These are best pruned as the new growth is vigorously developing in early summer; cut back a portion of the newer growth (often called “candles”) to control their shape.
Read Also:
- Best Plants for Shade, from Annuals and Perennials to Shrubs and Vines
- Coping With Death in the Landscape: The Cycle of Life in Your Garden
- Soil Rehabilitation Advice: Bring Your Soil Back to Life – Organically!
- Amazing Grapes: Growing Grapes in a Northern Climate
- A Guide to Repairing a Garden in the Fall
When to Prune Shrubs

It is critically important to know when to prune your shrubs. Some of the techniques I describe below can only be performed at certain times of the year, and you are advised to follow the instructions faithfully.
With other techniques, the shrubs can be pruned at almost any time, although there may be consequences. Specifically, there are two primary considerations when it comes to the right time to prune shrubs.
The first has to do with the time frame in which a particular shrub blooms. Obviously, if you’re undertaking a brutal rejuvenation pruning, you’re not going to be expecting much in the way of a flowering performance that year, or even for a year or two down the road.
But for an annual trimming or pruning to shape, it becomes very important to know when a shrub blooms in order to ensure that it will still perform as intended that season.
The rules are actually quite simple. You should only prune summer-blooming shrubs in early spring and prune spring-blooming shrubs immediately after they have bloomed.
With spring bloomers, early spring pruning will actually remove the flower buds and could severely inhibit any flowering performance, while waiting too late after they have bloomed could remove the newly formed flower buds for the next season.
The key with summer bloomers is to not prune them after they have flowered, as this will probably be too late in the season for the vigorous new growth that will ensue to harden off to any safe degree.

As a general rule, early spring bloomers form their flower buds from the previous season and carry them through the winter.
The flowering buds are therefore on the stems in early spring. The latest spring and summer-blooming shrubs tend to flower on new growth of the season and are best pruned in early spring while still dormant.
However, there’s a specific exception to this rule; shrubs that bloom on “new growth that emerges from the wood of the previous season”. These include many of the viburnums (highbush cranberries) and weigelas; these are best treated as early spring bloomers and only pruned immediately after flowering.
One final note – there’s a morsel of advice that’s often proffered by our dear but oft-ignorant friends in warmer climes which is thoroughly bad advice here in the North. Northerners take note – you should never prune any shrub, for whatever reason, after about the end of July.
Pruning stimulates vigorous new growth in most shrubs, and the last thing you want is tender new growth at the end of our short growing seasons when plants should be hardening off for the year. This is a recipe for disaster, even (especially) with hedges!
Pruning Methods for Shrubs
For many people, “pruning” means “pruning” and that’s all. But there are different reasons to prune a shrub with different intended outcomes, and each of these has its specific techniques. Light trimming won’t rejuvenate a gangly shrub, and harsh pruning isn’t the best way to make a shrub look neat in the short term. It all comes down to what you’re trying to do.
Note that I will not be discussing topiary pruning here; that is a separate and specialized discussion and warrants treatment in a separate article.
1. Spring Cleaning to Remove Deadwood

Almost all shrubs suffer some deadwood now and then. It usually appears in early spring, because it becomes evident as the living wood sprouts new buds while the dead wood doesn’t, and also because winter is usually the final “coup de grace” that takes out any branches that were damaged or stressed during the prior growing season.
Besides being visually unappealing, dead branches can become a hazard to the plant by harboring disease and insect pests. And, they can damage healthy branches and leaves that rub up against them.
That’s why you should make a spring inspection for dead branches a regular habit with all your shrubs.
The technique for removing deadwood is straightforward and simple, and it applies to all shrubs regardless of when they bloom. Trim off any dead stems and branches back to the nearest set of living buds. The key is to know which branches are truly dead and which might still be dormant.
Often times the dead branches will be obvious, for example, some may change bark color when they’re dead. If you can’t tell, a good rule of thumb is to wait until the buds have fully broken across the shrub – any branches with no buds breaking are likely dead and should be removed.
Don’t wait until the leaves are fully developed, though, as this will make it difficult to clearly see the dead branches inside the shrub.
2. Trimming for Neatness

Some shrubs look their best without any pruning whatsoever except to remove deadwood, but the majority can look, well, a little shrubby! Some, like forsythias, mock oranges, and deutzias, become notoriously shrubby as they mature and will be an eyesore without some tidying up each year.
You can keep your gardens looking their best by trimming off errant branches and rounding off the edges. You’re not actually trying to give shape to the shrub, only to reign in the wayward branches. Think of it as a light haircut for your shrubs!
To tidy up a shrub, first step back a distance from the shrub and give it an objective look-over from a couple of different angles. Look for a “center of gravity”, an imaginary middle point of the shrub, and then visualize the basic shape that builds out around it.
Now note the specific branches that violate that shape and definition; ones which jut out at odd angles, or which stick out like sore thumbs.
Taking these one branch at a time, eyeball which leaves or buds would bring the offending branch back into line with the basic form that you visualized and then cut it back to this point.
You don’t have to be precise; in fact, you don’t really want to, or you’ll be ascribing a shape to the shrub and compromising its natural form and beauty. Step back after trimming each branch and keep viewing the plant from a distance, correcting all errant branches until the shrub looks generally tidier.
3. Pruning for Shape
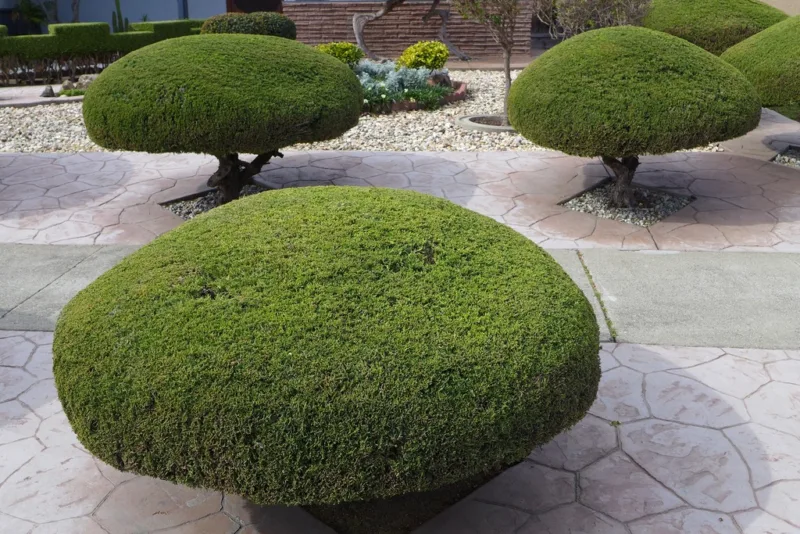
You may decide to prune a shrub for shape to bring relatively geometric forms into a landscape for specific purposes or intents, or to keep a larger shrub smaller than it would naturally tend to be. While this technique may be more rigid than just a quick trimming, the objective is to still have the plant look like the final shape is in fact its natural form.
For this reason, it helps to know the “natural” shape of the plant as it would grow on its own; the closer you can come to this, the more it will cooperate with your attempts and the more satisfied you’ll be with the results.
This approach works best on very dense shrubs, which will fill in the trimmed spaces very quickly and make it look like they have naturally grown into this shape. With more open shrubs, this type of pruning may be a little harsh and could leave some empty spots where buds may not have been available.
For this reason, you may not want to prune very open or “shrubby” shrubs in this way; ironically, the best candidates are those that are not too far off from this shape in the first place!
As with trimming for tidiness, you still need to step back and visualize the ultimate shape of the shrub. Only now, you are going to prune it rigidly to this shape. You will cut back each branch to a leaf or bud closest to the point on the “surface” of the end shape.
For best results, do this pruning in early spring before the buds have broken, as the resulting growth will be vigorous and timely unless, of course, it is a spring bloomer. Trim off all branches that extend beyond the desired shape.
4. Pruning a Formal Hedge
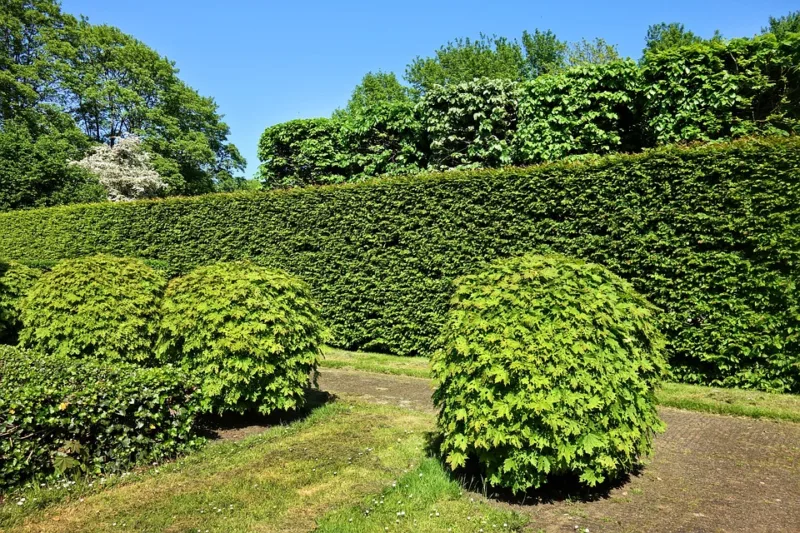
Formal hedges are pruned in a totally different way than other shrubs or shrub formations. With only a few exceptions, the proper way to prune a formal hedge is to create a top line that is plumb level, and not necessarily level with the ground below.
If the hedge is planted on a slope, it would be appropriate to step the courses down as a series of terraces, with each individual tier still plumb level. On the other hand, informal or natural hedges are almost always pruned to follow the contours of the ground and are never pruned as rigidly.
To prune a formal hedge to plumb level, hammer in two posts or stakes at each end of the hedge or tier of the hedge, and slightly off to one side. Tie a string taught between the stakes, and then use a line level (a little level that hooks onto the string) to set the string perfectly level to plumb at the desired height of the hedge.
Run your pruning tool along the string to remove the top of the hedge along the entire length of the string, being careful not to depress the string in the middle. This task is easiest with a set of power shears but can be done with standard pruning shears as well (plus a little patience).
The sides of a formal hedge should also be pruned. In most cases, these are pruned with a gentle slope away from the vertical going down such that the hedge is slightly wider at the base than at the top. This will ensure that the leaves along the side receive adequate sunlight to keep them dense and healthy.
5. Rejuvenation Pruning
As shrubs mature, they tend to get harder and harder to keep looking their best. They accumulate more and more deadwood as major branches begin to die off, and almost all become far too large for their intended locations.
Even with regular trimmings, most shrubs will eventually need rejuvenation pruning. This can extend their functional lives by at least a few more years and will bring them back into the scale of your landscape.
There are two distinctly different ways to rejuvenate a shrub. Before you go about either one, it is critically important that you understand which technique is appropriate for a particular shrub and circumstance. Both techniques are quite harsh, and not all shrubs can be rejuvenated this way.
Furthermore, the lifespan of the shrubs in your landscape can’t be prolonged indefinitely; at some point, even harsh pruning won’t save them from the inevitable end of their time in your yard. So be warned – these techniques don’t always work!
Rejuvenation by Thinning
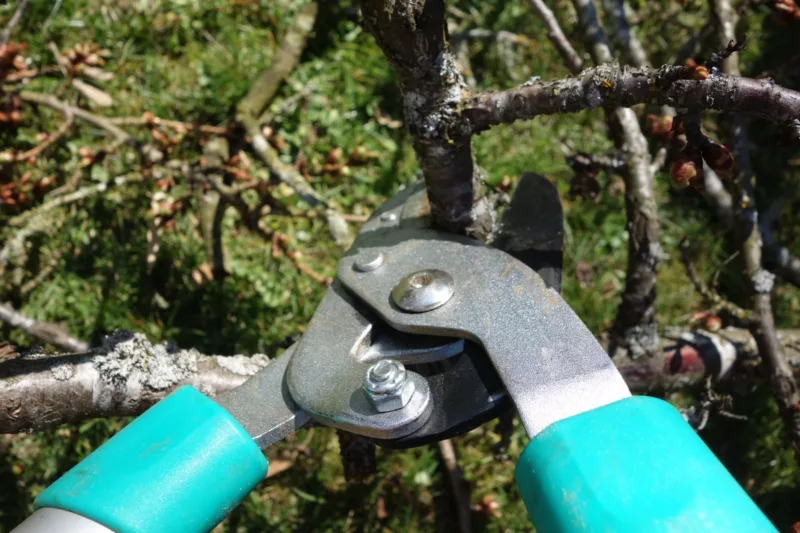
Many shrubs grow by sending out primary branches when they’re young, which eventually form the framework of the shrubs as they mature.
But every year, the shrubs also produce additional shoots from the base. Some of these will become new primary branches, but if the original stems are healthy, the new growth will simply languish and die a natural death. Eventually, though, the older stems will reach the end of their line and will die out.
At or prior to this point, it is possible with most shrubs to remove these older stems right to the ground, and allow the newer more vigorous basal growth to rise up and take over.
Here’s how it’s done. Like many other techniques, it’s best to prune in early spring before the buds have broken; this makes it very easy to see which are the primary stems and which are the up-and-coming stems that sprouted the previous season.
Identify 2-4 of the oldest stems, particularly those that are starting to look worn or overgrown. Trace them right back to the base, and then chop them out as low to the ground as you can, trying not to inadvertently trim off any of the newer basal growth that will take their place.
Try not to leave any stubs protruding from the base, as these will eventually die back and may harbor pests and diseases.
The key is to not remove too much of the body of the shrub at any one time, or this technique becomes a very harsh pruning that not all shrubs will tolerate. If the shrub has few stems and branches, to begin with, only remove a couple of the older stems.
If it’s vigorous and heavily multi-stemmed, you can pull out 4 or more of the oldest stems. As a rule, try not to remove more than one-third of the total top growth when you cut out these stems.
Finally, give the balance of the shrub a light trimming to give it a little shape. Don’t worry that it might look a little empty in places or not have a defined shape at this point; the new shoots will rapidly grow into the light and open spaces, filling it out and restoring the natural form in short order.
Rejuvenation by Cutting Back to the Ground
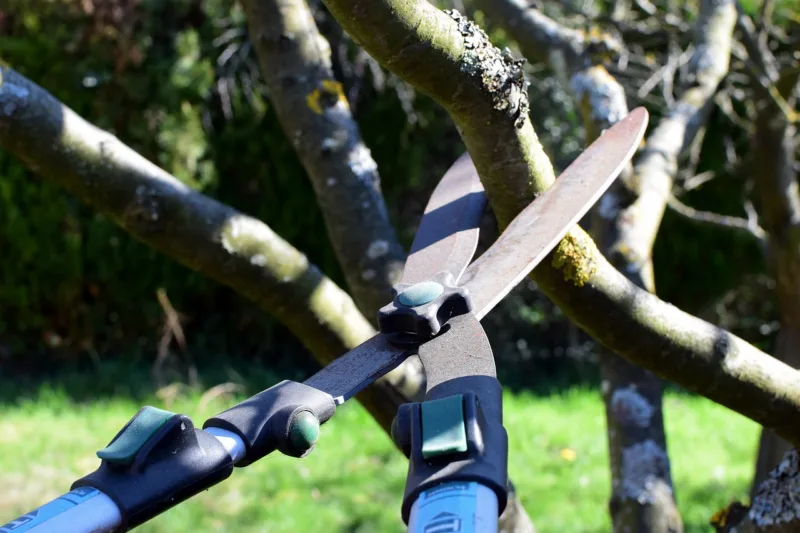
This technique involves cutting the entire shrub back to near the ground and effectively starting over. Note that this does not work with all shrubs; it is most effective for shrubs that are highly multi-stemmed and which tend to freely send shoots from the crown, or those which tend to sucker from the base.
If in doubt, find out first whether a particular shrub will tolerate this kind of pruning; a wrong decision here may leave you with an empty space where a shrub once thrived.
To rejuvenate a shrub by this method, cut back all branches of the shrub to about 1-2” from the ground. If there are obviously healthy new shoots emerging from the base, you can cut back the older stems right to ground level and leave 2-3” on the vigorous new shoots, always trying to leave at least a couple of healthy buds on each stem.
This technique should only be done in early spring before the buds have broken because if successful, it will trigger lots of vigorous new growth that has to harden in time for the coming winter.
It may take an entire season to simply look like the shrub is alive, and even 2-3 seasons to get back to any identifiable shape and performance in the landscape, but where successful it can extend the life of the shrub by many more years.
It’s also best not to wait with this technique until the plant is so old and tattered that it is on its last legs. Often times plants will develop root problems at such an age, and then no rejuvenation pruning will be able to salvage them.


