Table of Contents Show
If you are looking at rainwater catchment systems you may be interested in knowing how to make a rain barrel cheaply. It can easily be done for under $40.00 USD, and in some cases, under $10.00.
What Is a Rain Barrel?
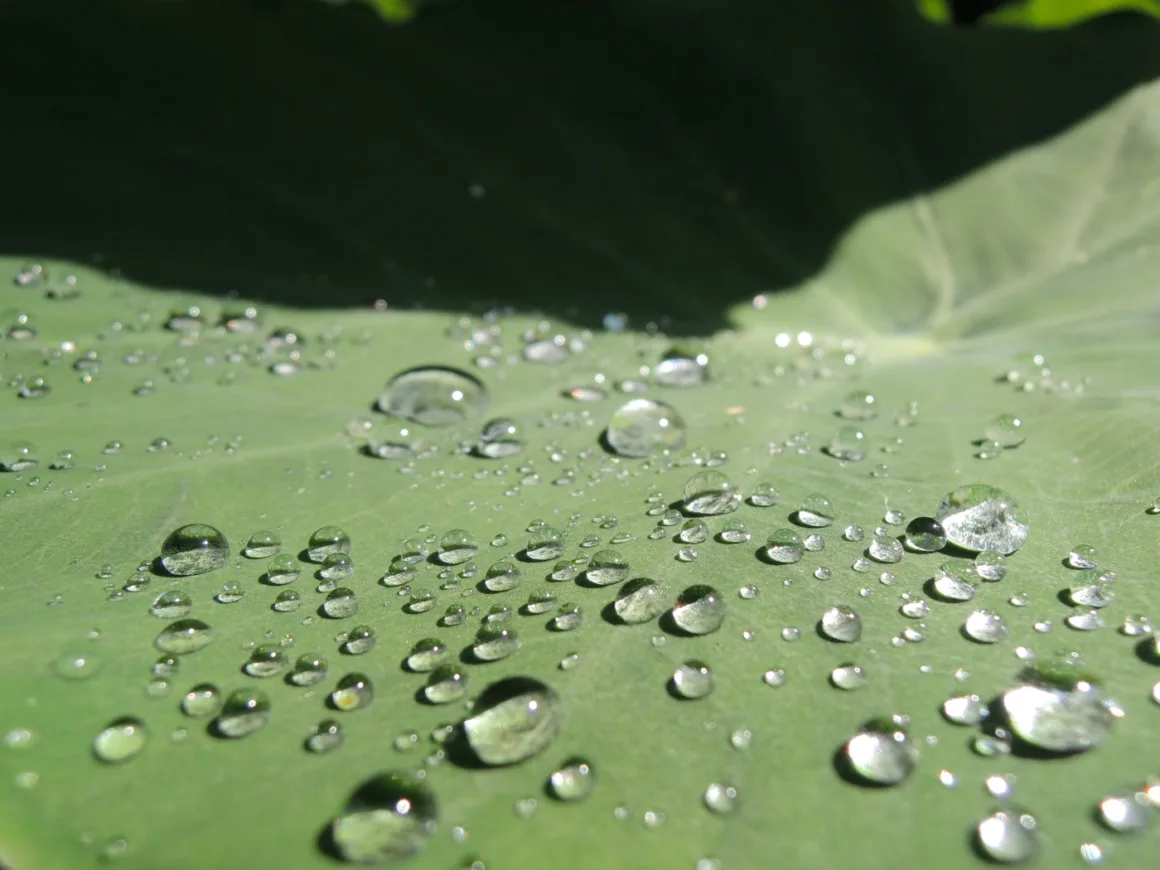
Rain barrels are simply large containers used to hold rainwater. This water can be used to water your garden, flush your toilet, water livestock, or wash the dog. If you think that it will take months to fill a fifty-gallon barrel think again.
According to the Office of the State Engineering in New Mexico, 2 inches of rain will result in 1.24 gallons per square foot of area. The roof of an average size home can shed up to 5,000 gallons of rainwater with just two inches of rain!
If you have a home, a garden shed, and a small barn you can easily save enough water to water your garden all summer, plus flush toilets, and wash cars.
Think about what you could do with the money you would save!
Rainwater Collection Gutters
For the most effective catchment system, you will need to have rainwater collection gutters in your home. Simply put, these gutters (just like the old-fashioned ones – just with a high-class name) are attached to the roofline to catch the runoff when it rains.
They divert the water into downspouts on the sides of your house and then into your homemade rain barrel for storage.
Finding a Barrel
The first step in making a rain barrel is, of course, finding the barrel.
Get a Food Grade Barrel
If you have a soda bottling company within driving distance, give them a call and see if they have any barrels you can buy. You want the barrels to be food grade so that the water is not filled with chemicals and toxins since you will be pouring this water over your plants, and possibly having your animals drinking it.
Often the bottling companies will charge ten dollars or less for a barrel, sometimes even giving them away. They are of no use to the company after the contents are removed. There are other food distributors that use large barrels so look in your phone book or do an internet search to find one near you.
A large plastic trash can is another way to acquire a rain barrel. These are available at nearly any home improvement store for less than twenty dollars.
A trash can will give you fifty-five gallons of water storage, and while it isn’t food grade, if it is new it will be clean enough to use for watering vegetable gardens and to provide drinking water for any livestock you may have.
When you know how to make a rain barrel cheaply, you can even make them as gifts or make them sell for a little extra income.
Stay Away from These Barrels!
Whatever you do, do not use a barrel that has been used to hold petroleum products or chemicals! These containers may leach toxins into the water that you use to water your plants.
Tools and Materials for Making a Rain Barrel or Water Catchment System
Supplies for making a rain barrel are not expensive and are available at Home Depot, Lowes, or other home improvement stores.
Here is what you will need:
- Electric Drill
- 1-inch spade bit
- Jigsaw
- Tin Snips
- Marking pen
- Phillips screwdriver
- Pocket knife or utility knife
- Hacksaw
- Measure
- Screwdriver
- Pliers
- Adjustable wrench
- Extension cord
- Safety glasses
- Hose spigot with 3./4 inch threaded inlet and male hose end
- Two ¾ inches galvanized lock nuts to secure the spigot from the inside of the barrel
- Four washers with a 1-inch opening
- Teflon tape Silicone adhesive
- Bricks or concrete blocks for a platform
- Window screen big enough to cover the opening of the barrel
- Downspout elbow to route the downspout to the barrel
- Clincher strap to secure the barrel to the house
- ¼ inch sheet metal screws
- ¾ inch screws for the clincher strap
- 2-inch overflow pipe fittings
Instructions for How to Make a Rain Barrel Cheaply
- First, decide where you will be keeping your rain barrel or barrels. Place them in those locations and consider their placement in reference to how you will be using them. Try to make it so you will not have to haul water great distances to accomplish your goals. If you will be using the water mostly in your vegetable garden then take that into consideration when planning the placement of the system.
- Now, create the inlet, or the place where the rainwater will enter the barrel from the downspout. Make an opening large enough for the downspout elbow and place a piece of screening over it. The screening will keep out large debris and bugs.
- Next, you will need an overflow pipe. Drill a hole near the top of the barrel at least two inches in diameter. Place the overflow pipe into it. If it seals and seats securely you can thread it right into the opening, however, if it doesn’t, just secure it with washers on both the inside and the outside of the barrel and a nut on the inside. Use the Teflon tape around the threads and bead silicon caulk around the opening. You want a tight seal to maintain the cleanliness of the water. Plus, you don’t want to provide a daycare center for baby mosquitoes!
- A raised base will allow gravity to work with you when you want water from your barrel. Use a couple of concrete blocks or bricks to make a stable base for the barrel to sit on. Make sure the surface is level to prevent tipping and accidents.
- Cut your downspout with the hacksaw so that the elbow sits above the barrel inlet by less than an inch. Attach the elbow over the downspout with a screw. Fix the downspout to your house with the clincher strap. Place the barrel beneath the elbow and attach it to the house with a clincher strap as well. This will prevent any tipping or accidents. Full rain barrels are extremely heavy and can be dangerous.
- Cut the overflow pipe and attach it to the overflow elbow. Direct it to where you want the excess water diverted. You can make a second barrel to hold the overflow, but be sure to affix an overflow to it as well. This way, if you get a lot of rain and both barrels fill the excess can drain off. If you live in an area where you do get a lot of rain you can even attach a third barrel if you want to. Just make sure there is always an overflow drain. The excess water from the overflow should drain away from the house.
- Now, drill a hole near the bottom of the barrel to attach the drain spigot. If it seems to be secure then you can just thread it into the barrel opening but if not use the same process you used for the overflow pipe.
Ideas for Making Barrels
Using Your Rain Barrel
Now your rain barrel is finished and waiting for the next shower.
To use it just attach a hose to the drain spigot and fill your container with free water. Some people like to decorate their rain barrels by painting them to make them look less utilitarian. This is totally up to you.
Your home will look better if the barrel is painted a color that integrates it into your exterior landscaping. Just beware of painting it a dark color – you don’t want to water your green beans with boiling water!
The cost of all the supplies including the barrel should be around $20 to $40 depending on how much it costs you to acquire a barrel and if you have the drill and other tools already.
Tips
Here are a few extra tips to help you get the most use out of your homemade rainwater catchment system.
- Remember that unless the water comes off a metal or slate roof it should not be used for drinking or washing food.
- Keep your gutters clean so that your water will be clean.
- Check your barrel twice a year for leaks and loose fittings.
- Some people keep goldfish or even raise catfish for eating in their barrels to keep down the mosquito larvae. If you do this keep track of how much water is in the barrel or you will find yourself with dead, smelly fish.
Making a rain barrel is a great way to save money and conserve water. When you learn how to make a rain barrel cheaply you can even create a whole catchment system. Just connect a series of barrels one to another. Each will overflow into the next as it fills up.
Imagine having 500 gallons of water to use as you needed whenever you needed to!