Table of Contents Show
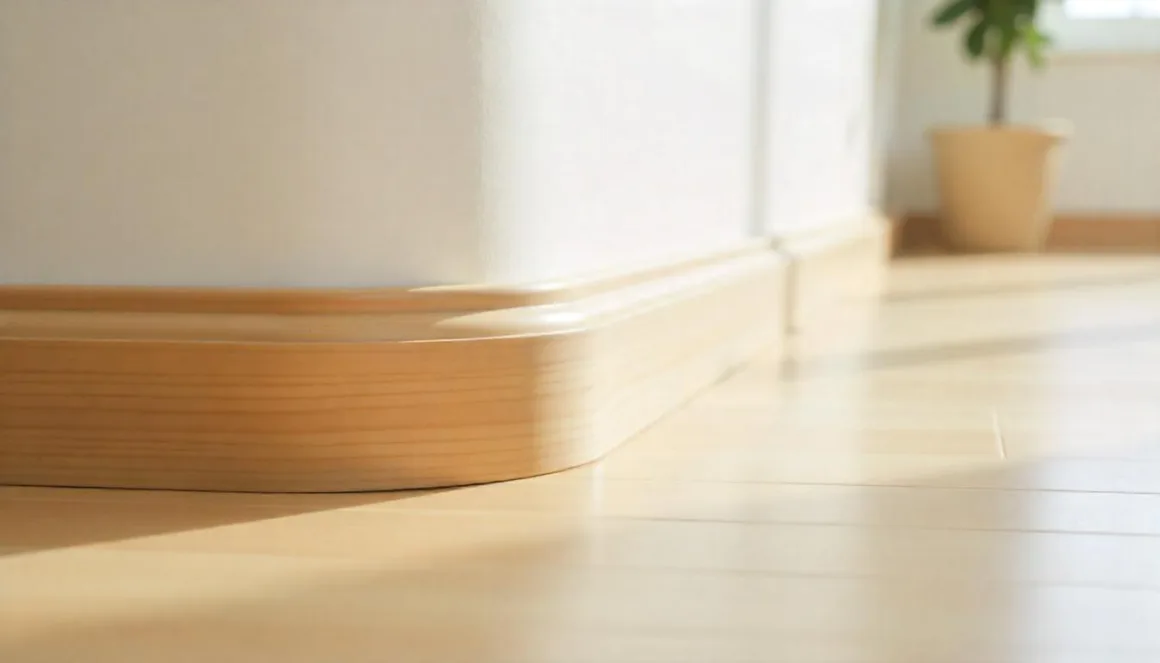
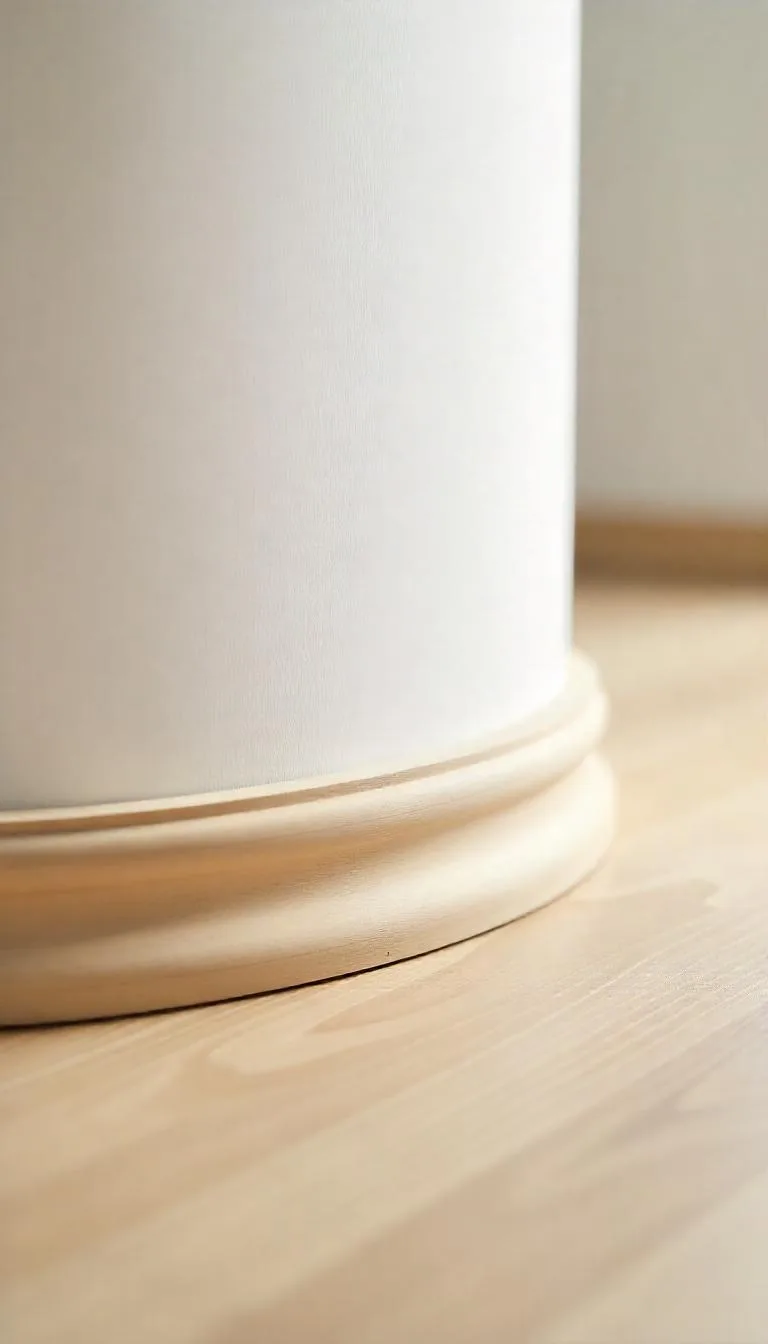
Quarter round—that’s that little curved trim you always see hugging the bottom of walls, right where they meet the floor. Looks sorta like someone sliced a tiny log into quarters. People use it all the time inside homes, mostly because it hides those weird gaps and makes everything just look a bit more finished. Plus, it’s oddly satisfying when all the edges line up just right. Not just for looks, either; it actually stops dust and gunk from sneaking back there.
The Functional Benefits of Quarter Round
Alright, so here’s the deal with quarter round: it’s basically the MVP when it comes to covering up those awkward spaces where your floor meets the wall. You know how, after new floors go in, you often end up with weird little gaps or rough edges? Yeah, quarter round swoops in and hides all that mess.
Especially if you’ve got funky curved walls or whatever—this stuff has your back. Slap it in, and suddenly your floor looks like it was done by someone who actually knows what they’re doing. Super tidy, super slick.
The Aesthetic Benefits of Quarter Round
Let’s be real: quarter round isn’t just about hiding awkward gaps—it actually makes your whole place look sharper. You slap that little trim down and—boom—suddenly your floors and walls vibe together like they’ve always been besties.
Doesn’t matter if you’re rocking hardwood, some kinda laminate, or cheapo carpet from your college days, quarter round somehow classes it all up. And the best part? You can paint it, stain it, whatever—make it disappear or stand out. Totally up to you. It’s like the little black dress of trim—classic, flexible, and pretty much always a good call.
Types of Quarter Round
There are several types of quarter round available on the market, reflecting different materials. Alright, let’s break down quarter rounds—those little trim pieces people stick at the bottom of the wall. You’d think there’d be like, two kinds and that’s it, right? Nope, turns out the quarter round world is weirdly diverse.
You’ve got wood (classic, kinda homey, and takes stain like a champ), then there’s plastic—which basically laughs in the face of water—and composite, that Frankenstein blend of wood & plastic that tries to give you the best of both.
Picking the right kind? Yeah, it’s actually important—especially if your walls aren’t perfectly straight or you’re working somewhere damp. No one wants a soggy, warped trim that looks like it’s trying out yoga poses. Wood for the old-school vibe, plastic when you need it to survive a storm, and composite if you’re indecisive or just want something a little extra tough. Simple as that.
Where is Quarter Round Used?
So, what’s the deal with quarter round? Basically, you’ll spot it hugging the spot where your floor slaps up against the wall—like in weird corners, especially where things curve or just aren’t 90-degree angles. It’s not just for show, though. Quarter round hides those sneaky little gaps that always seem to pop up, no matter how carefully you lay your planks. Makes everything look intentional—like, “yeah, I totally meant for my living room to be this snazzy.”
There are all sorts of quarter round styles floating around out there. Knowing which one actually fits your vibe (or your ridiculously uneven walls) makes a huge difference—seriously, your DIY cred and the final look depend on it.
Tools and Materials for Measuring and Cutting Quarter Round
Alright, let’s talk about the gear you actually need when it’s time to start measuring and hacking up quarter round for those annoyingly not-straight, wiggly walls. Forget about just eyeballing it—unless you’re into awkward gaps and cursing later. Here’s what’ll save your sanity:
Essentials You’ll Need:
- Measuring Tape: Cliché, but honestly, if you’re not measuring curved walls with this, you’ll regret it. Unless you like quarter round that barely fits or sticks out like a sore thumb.
- Combination Square: Don’t just fake those angles. This little gadget helps you mark straight lines and decent angles, so your cuts don’t look like a toddler with safety scissors made them.
- Fine-Tip Pencil: Sounds boring, but try using a fat marker and suddenly your pretty trim looks like it belongs at a five-year-old’s birthday party.
- Miter Saw: This thing is a lifesaver for nailing those clean corners. Your hands just can’t cut that sharply, trust me.
- Coping Saw: For all the weird, squiggly trims and tricky corners, this is your go-to. You’ll fudge that coping joint every time without it.
- Band Saw: Only really matters if you’re dealing with big chunky trims. If not, skip unless you’re just showing off.
Seriously, Don’t Forget These Safety Things:
- Glasses: Unless you like picking sawdust out of your eye for days.
- Earplugs: Unless the squeal of power tools is your jam.
- Dust mask: Breathing in that fine dust? Not cute. Use it.
Picking Out Your Quarter Round:
So here’s the deal—there’s more than just wood out there. You’ve got:
- Wood: Classic. Old-school. Looks sharp but hates water, so skip it in the bathroom unless you’re a fan of swelling.
- PVC: Hates water less, which means it’s fine for steamy rooms (kitchens, bathrooms, maybe your sauna?).
- Composites: Honestly, these live somewhere in between.
Match up what you choose with your space. Durability, color, finish—yep, it matters way more than you think if you actually want it to look good. Don’t just buy the first thing you see at the store. Spend a minute. Thank yourself later.
That’s pretty much it—roll up your sleeves and get cutting. Or call someone else to do it, but then you’ll miss out on an excuse to buy more tools…
Related reading: What Should Every Homeowner Have in Their Toolkit?
Step-by-Step Process for Measuring Quarter Round for Curved Walls
Alright, let’s get into the nitty-gritty of measuring quarter round for those pesky curved walls. Seriously, if you thought this would be as easy as measuring a straight hall, well… think again. Curves make everything trickier. Anyway, here’s how a real person would do it:
Step 1: Measuring the Length (AKA, Doing the Tape-Measure Tango)
Grab your tape measure, maybe curse at it for getting tangled, and run it along that twisty wall. Don’t just stretch it out in a straight line; you’ve gotta actually follow the curvature. Get all up in those nooks and crannies. And hey, don’t trust just one measurement—move the thing to a couple of different heights, since walls like to surprise you with their wobbles.
Step 2: Breaking Out the Fancy Tools (Flexible Curve Ruler Time)
Let’s say you’re a bit of a perfectionist or you just love gadgets. Pull out a flexible curve ruler—yeah, it kinda looks like a bendy snake. Mush that sucker up against the wall, shape it to match precisely, then trace the line onto your quarter round or just measure the bent shape directly. Makes your life easier, trust me.
Step 3: Mind the Material (Buy More Than You Think)
This isn’t the time to be stingy. Quarter round comes in standard sticks—usually 8 feet or so. You WILL mess up at least once (don’t even try to deny it). Just buy a little extra. It’s better to have leftover scraps than to run out and have to make a panicked last-minute trip to the hardware store. Oh, and don’t forget things like outlets or weird trim—those can totally wreck your plans if you don’t account for them.
Step 4: Re-check Everything Before You Hack Away
Here’s where you double—or triple—check those measurements. I mean, who wants to cut a beautiful piece of quarter round and realize it’s an inch short? Gaps don’t look good, no matter how much caulk you slap in there. Line it up one last time, breathe, then cut. Or get a friend to confirm, and blame them if it goes wrong (kidding… mostly).
At the end of the day, just take your time. Messing with curves is basically the universe’s way of making you pay attention. Get it right and it’ll look like it grew out of the floor. Get it wrong, and well, good luck hiding it from your mother-in-law.
Related reading: How to Install Sheet Vinyl Flooring
Cutting Techniques: Achieving Perfect Angles and Curves
Let’s be real—cutting quarter round for those funky, not-so-straight walls? Total patience-tester. You want those joints tight and pretty, not a hack job of “good enough.” Mostly, we’re talking about two classic moves here: miter cuts and copes. Each one’s got its place, so don’t just wing it with a handsaw and hope for the best.
For Outside Corners: Bring On the Miter
Outside corners, you’re gonna want to go classic. Yeah, those 45-degree miter cuts—pretty standard. Grab a miter saw (electric makes life easier, but a manual one’ll do if you’re feeling old school). Make sure your quarter round’s sitting snug on that base—nobody wants a wobbly mess. Measure twice, cut once, or you’re gonna be cursing under your breath.
Inside Corners? Time to Cope
And then you hit the inside corners—different beast. Coping’s where the magic happens. Start off with a straight cut on the piece, which gives you something to work with. Then, go to the profile with a coping saw—hot tip: slow and steady. Trace along the edge, basically “carving out” the back so it snugs right into the other piece like puzzle pieces that actually fit (a rare miracle in home improvement). Even if your walls have some, uh, personality, this method hides the sins.
Your Tools Matter—Dull Saws Will Ruin Your Day
Honestly, using the right tool makes all the difference. Dull blade? Forget about it—chips and splinters for days. Keep your saw blades sharp, whether it’s a miter saw for angles or a coping saw for those curves. And hey, slap some painter’s tape on your cut line before you start—it stops tear-out and helps stuff stay put when you cut.
When It Goes Sideways…
Stuff goes wrong, don’t stress. Cuts don’t line up? Double-check your angles—sometimes eyeballing just doesn’t cut it (ha). Things looking jagged or chipped? That’s usually a dull blade, or you powered through too fast. If in doubt, grab a bit of scrap quarter round and practice. Better to mess up on that than the real deal.
Bottom line—take your time, measure with something better than a guess, and remember: There’s nothing “perfect” about home projects, but you can get freakin’ close. And nothing beats the satisfaction of a quarter round that actually follows the wall like it’s supposed to.
Conclusion
Alright, here’s the deal with quarter round: it’s that little curved trim hanging out at the base of your walls, and yeah, it might seem minor, but trust me—skip it, and suddenly your room just looks… off. Weird gaps, unfinished vibes, the whole nine yards. Find the right quarter round, measure it (don’t eyeball it, unless you love crooked lines), and the whole installation thing does itself a favor.
Nail it down right and bam—your space goes from “meh” to “whoa, are we in a magazine shoot?” It’s the finishing touch that actually pulls the room together, kinda like a good pair of socks. Take a few extra minutes to measure, cut, and fix it properly, and you’ll thank yourself every time you walk in. That stuff’s not just for looks either—keeps dust and crumbs out of weird places. So, don’t half-ass it, yeah?